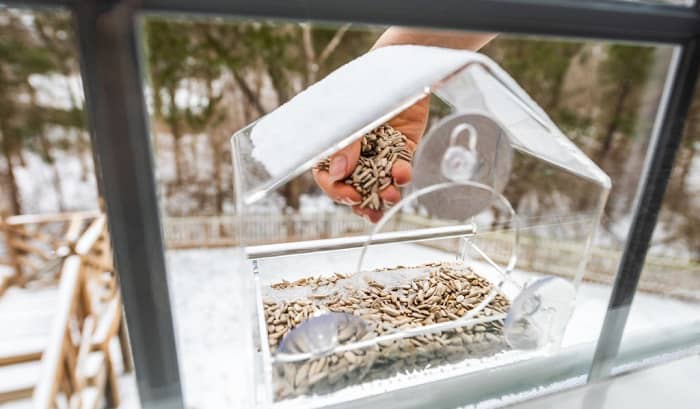
A typical bird feeder is equipped with a wide base, a high pitched roof, drain holes, seed space, and a built-in water tray. It is designed to accommodate multiple birds.
And though it is great to have a bird feeder hanging in a tree or placed in the middle of a garden, the best place for feeding birds is near your window. But how to hang a bird feeder outside a window?
It’s actually quite easy to perform this task. With simple steps, you can wake up to the sounds of birds at your window.
Table of Contents
- Preparation
- Hang Bird Feeder From the Roofstep by Step Instructions on How to Install a Window Bird Feeder
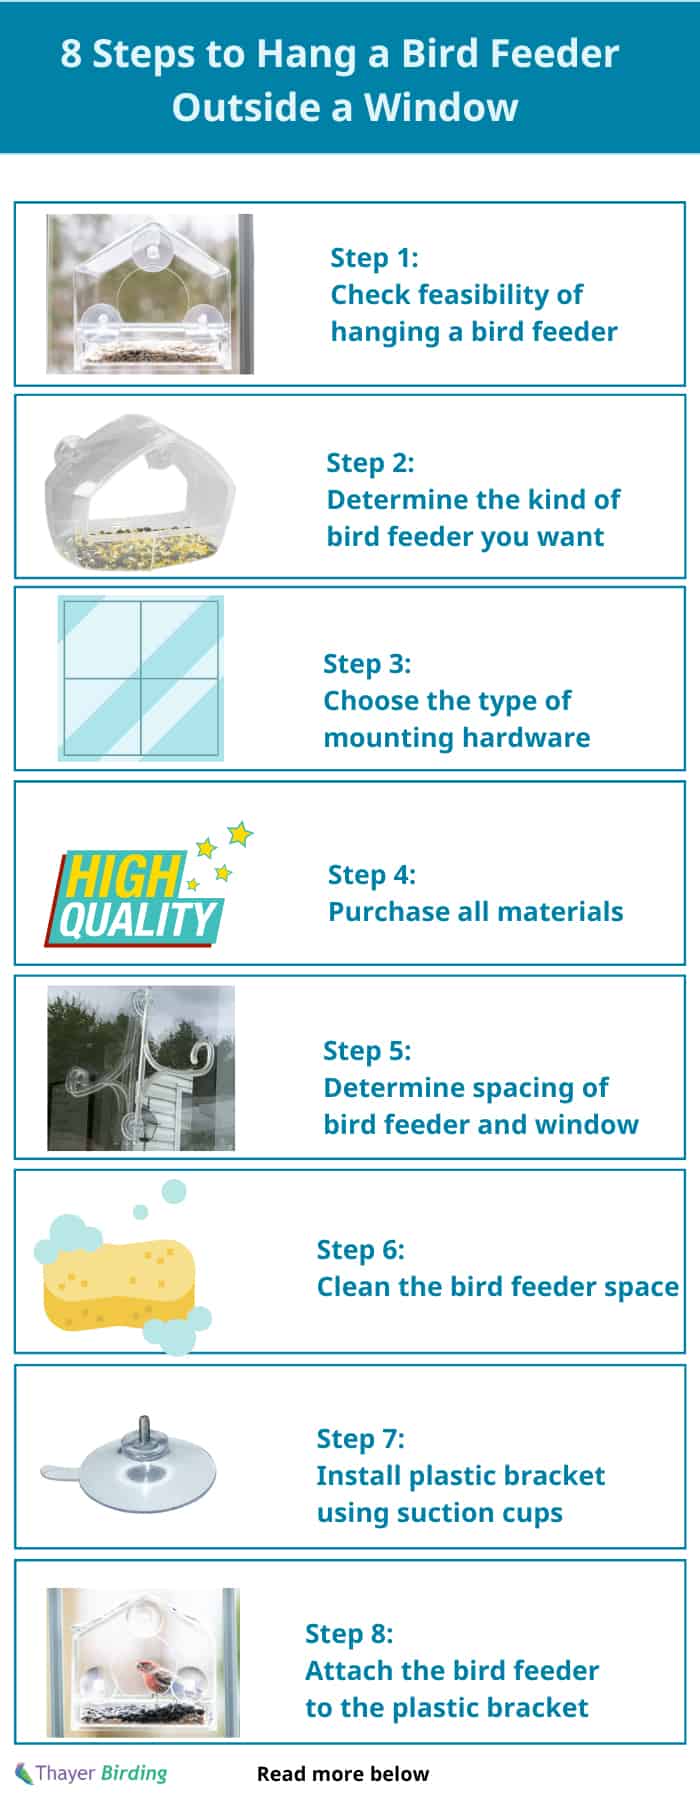
- Step 1: Check feasibility of hanging a bird feeder
- Step 2: Determine the kind of bird feeder you want
- Step 3: Choose the type of mounting hardware
- Step 4: Purchase all materials
- Step 5: Determine spacing of bird feeder and window
- Step 6: Clean the bird feeder space
- Step 7: Install plastic bracket using suction cups
- Step 8: Attach the bird feeder to the plastic bracket
- Hang Bird Feeder From the Roof
- Drill and Install a Hanger on a Wooden Surface
- Conclusion
Preparation
A window bird feeder is not just a tool to attract birds. It is also a source of peace, calmness, and joy. The sound of birds chirping and humming can bring happiness to your heart. And so it is a good idea to install a bird feeder and enjoy the sight of birds everyday.
And to have your own window bird feeder at home, there are a few materials that you need.
- New bird feeder
- Mounting hardware
- Cleaning materials
- Bird food
- Cordless drill
- Screws
- Ladder
- Hook
Hang Bird Feeder From the Roofstep by Step Instructions on How to Install a Window Bird Feeder
Step 1: Check feasibility of hanging a bird feeder
In your quest to hang bird feeder from window, you need to determine the feasibility of this project.
Find a spot that’s not windy to prevent seed spills and to act as a refuge for birds. The location near the window must be free from planters that can be used by cats to hide and assault the birds. It must also not be near your AC to avoid accidents and injuries for birds.
Ensure that your ideal window spot for a bird feeder is clear, with no other obstructions that can hurt the birds during landing or liftoff.
Step 2: Determine the kind of bird feeder you want
There are different types of bird feeders in the market. There are products that look like a house; some only have a base for the seed and water, while a couple even have space for accessories like a swing or a bird bath.
The most important thing is that you choose a bird feeder with drain holes. The holes allow the seeds to stay dry and keep moisture from building up in order to avoid mildew and mold.
But whatever kind of window bird feeder you choose, always check for the mounting hardware.
Step 3: Choose the type of mounting hardware
If the bird feeder that you will purchase does not come with a mounting hardware, then choose the most suitable one. The most popular way of mounting a feeder is through a plastic bracket with a suction cup or a hook for a glass window or PVC surface.
You can also opt for a hanging bracket that is designed for oriole or hummingbird feeders. This kind of mounting hardware is attached directly to the wood window or surface.
In a nutshell, the choice of a mounting hardware depends on the type of window material you have.
Step 4: Purchase all materials
Once you have decided on the kind of window bird feeder and mounting hardware to use, it’s time to buy them. Keep in mind that in purchasing a bird feeder that attaches to window, you must look into the quality of the product.
It is indeed tempting to purchase cheap bird feeders, but they are not durable. Opt for products that are high quality with high ratings.
And if the bird feeder you choose is a hanging type, check if there are mounting hardware included. If not, purchase them separately.
Step 5: Determine spacing of bird feeder and window
It is extremely important to measure at least three feet from your window to the bird feeder.
You need to give birds enough space to take off without hurting themselves. Also, the three feet distance allows space for the birds to feel comfortable in feeding themselves. They can get scared easily if you are too close to them while watching through your window.
Additionally, make sure that the bird feeder is at least six feet from the ground. Squirrels are always around where birds are, but they cannot jump up for more than five feet.
Step 6: Clean the bird feeder space
Gather your cleaning tools and clean the window space where you will install the new bird feeder. Keep in mind that if you opt for a suction cup for mounting, it will not latch on a dirty surface. And if you choose other mounting options, it is still best to work on a clean surface.
Also, the cleaning process must continue later on. Always clean the bird feeder regularly. Take note that the birds can get sick if they are exposed to stale or expired bird food.
Step 7: Install plastic bracket using suction cups
Before you install the bracket with suction cups on the window, soak the cups in hot water. A damp suction cup is proven to attach more securely on glass, so this process is a must.
When ready, position the suction cups to the mounting area, with the bracket locked onto them. Push the suction cups hard until you are sure there’s no air trapped between them and the window surface.
Step 8: Attach the bird feeder to the plastic bracket
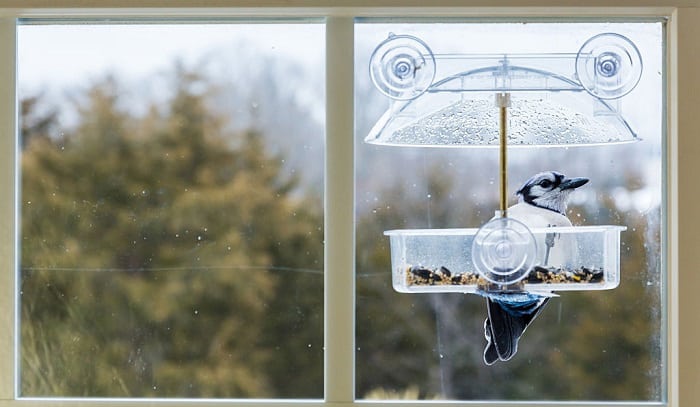
Make sure that the bracket with suction cups is latched securely on the glass window. Then hang the window bird feeders on the hook on the bracket.
A hanging bird feeder is designed to be attached to a hook, and it could swing a bit when there is wind or when the birds are feeding. Therefore, the mounting hardware must be placed securely.
Hang Bird Feeder From the Roof
Another method of hanging a new window bird feeder is to set it up through the roof. Simply use a sturdy ladder to reach the roof above your window. Drill a hole and put on a hook, then attach a long wire, chain, or string to hang the bird feeder from the roof down towards the window.
This idea is great, but you need to know that this hanging method can cause constant swinging of the feeder.
Drill and Install a Hanger on a Wooden Surface
If you have a wooden house with zero glass windows, then one of the best ideas for hanging bird feeders is to drill a bracket. With the use of a cordless drill, put holes on your wall near the window and install a bracket with a hook at the end.
You can choose whatever style of bracket you prefer, as long as there is a hook for mounting the bird feeder. And make sure that the bracket is attached with at least two screws.
Conclusion
Through this post, you now know how to hang a bird feeder outside a window. It is quite an easy task, especially if you have all the materials you need for the installation. Plus, the steps are simple to follow, and you can even do them without anyone’s help.
Once you have your window bird feeder installed, you can start enjoying the beauty of birds in your own home.
We do hope that you find this article helpful. Kindly share this to your friends so they will also know how to put a bird feeder on their windows.

George and I became friends after a birdwatching trip with our new group. And we have been enjoying every adventure together. When he told me the idea of establishing a site that shares our experiences and fun, I immediately agreed. After trials and errors, here we have Thayerbirding.


