It’s tempting to pick up a nest with eggs left unattended in your yard. How hard would it be to take care of them? After all, it seems you only have to incubate and wait for them to hatch.
However, it’s not as straightforward as it sounds. There are many things to consider when caring for bird eggs without a mother bird.
For instance, you need proper equipment and temperature; thus, keep reading to learn how to hatch a bird egg properly.
Table of Contents
How to Hatch an Egg by Yourself
In this section, we’ll talk about the most important things you must know to take care of bird eggs. But before we proceed, know that hatching is only a part of a bird’s journey.
Thus, before you hatch an egg by yourself, consider if you are capable of taking care of it after the bird is born. Otherwise, you may have to hand over the responsibility to an expert.
Equipment and Materials
If you don’t want to use an incubator
- Microwave
- Ceramic Bowl
- Water
- Towels/Cloth/Rags
- Heat lamp
- Sock with rice/hand warmer/hot bricks and sand/bag (optional)
If you want to make an incubator
- Shoe box
- Feathers
- Cloths
- Lamp
- Stuffed toys
- Cup
- Digital thermometer
- Humidity gauge
Step 1: Check if It’s Legal
Before you hatch any abandoned bird eggs, you must ensure you won’t get in trouble. Several countries, such as the USA, have laws protecting native and migrating birds.
These laws restrict the possession and handling of bird eggs. One such law is the Migratory Bird Treaty Act (MBTA), which applies to the US, Canada, Mexico, Japan, and Russia.
The MBTA makes it illegal to have, kill, sell, buy, or transport listed migratory birds, including their parts, nests, and eggs. So, if you’re unsure whether the MBTA protects the bird eggs you plan to hatch, it’s best to seek authorities.
Step 2: Inspect the Egg
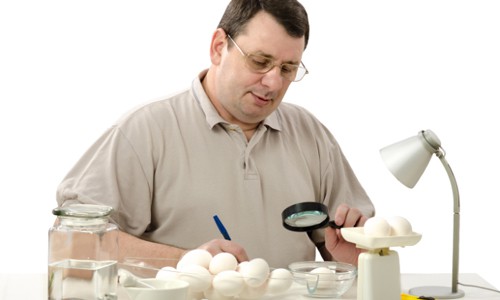
When finding a bird egg, don’t just assess for legalities. Evaluate the egg itself as well.
First, look around for the nest or parent birds. You can’t just take an egg that hasn’t been abandoned.
If an egg rolls away from its nest and still looks intact, you can return it to the nest. But if you’re unsure whether the egg belongs to that nest, do not put it in. Mothers tend to abandon roosts when there’s a stranger egg.
Also, if the bird egg fell out of the nest and cracked, it’s best to leave it on the ground. Most likely, it’s no longer viable.
Speaking of inviability, here are other signs that may indicate the egg is no longer hatchable:
- Cold to the touch
- Misshapen or soiled appearance
- Abnormal size (too large or too small)
In such cases, trying to hatch the egg will be a waste of time and resources. It’s best to let nature take its course.
On the other hand, signs of egg viability include warmth (from the egg) and visible veins. The latter may be harder to see if you’re inspecting under bright light.
Step 3.1 Hatch Eggs Without Incubators
Most likely, you don’t have an incubator on hand. However, you must keep the bird eggs warm while you still haven’t bought or made one.
Here is a way to do that without an incubator:
- Microwave some water in a ceramic bowl.
- Empty the bowl after microwaving.
- Moisten a towel with warm water.
- Wrap the wet and warm towel around the bird egg, and place the wrapped egg in the heated and empty ceramic bowl.
- Take the bowl with egg and place it below a heat lamp.
- Turn on the heat lamp.
- Rotate or turn the egg every six or eight hours. Sprinkle water on the cloth as well.
If you don’t have a heat lamp, don’t worry. There are also ways to keep an egg warm without an incubator or heat lamp. Here are some of them:
- Wrap the egg with a microwaved sock filled with rice.
- Put two activated hand warmers on top of and beneath the egg. Change the warmers every ten hours.
- Use hot water bottles, bags, or heated bricks wrapped with cloth, sand, and washcloths.
Whichever way you keep the eggs warm, ensure they are not TOO warm. Eggs are sensitive to extreme temperatures and generally need 100℉ to hatch.
Step 3.2 Incubate the Eggs
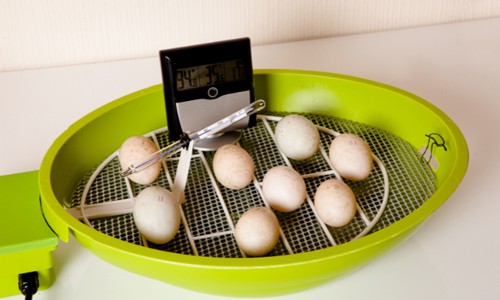
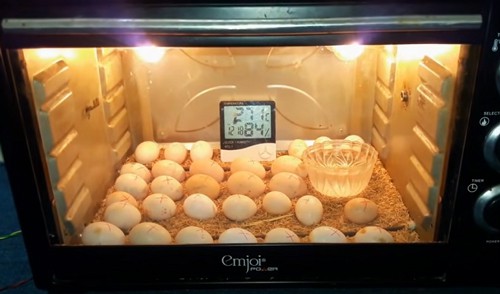
You need to incubate bird eggs for them to hatch. You can create a DIY incubator, but you may also purchase one.
Ready-made incubators might be more expensive than DIY types, but more reliable. For instance, they may have digital interfaces to indicate temperature and humidity.
But if you don’t have access to a ready-made incubator, here’s how to make a DIY hatchery:
- Lay a soft cloth on the bottom of a clean shoe box.
- Roll some cloth or rags until they look like cylinders or burritos. Connect those cloth rolls so you make a nest.
- Place the cloth nest on the prepared shoe box.
- Then pack the cloth nest with several feathers.
- Stuff the space between the nest and box walls with stuffed toys or cloth to make the incubator warmer. Leave room for a cup with water on the side of the box for humidity.
- Put a heat lamp over the box. Don’t turn it on yet.
- Place a digital thermometer and humidity gauge around where the eggs should be.
- Turn on the lamp.
- Ensure the temperature is around 98.6 degrees F (37 degrees C) and the humidity level is between 55% to 70%.
- Place the eggs on the nest.
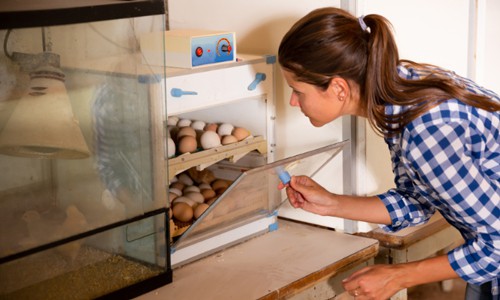
Whether using a DIY or ready-made incubator, you’ll have to constantly monitor the temperature and humidity levels. You will also have to turn or flip the eggs now and then (about two times per hour).
Note that while there is a generally recommended temperature and humidity range, bird incubation parameters vary per species. Thus, to be precise, you may research the ideal temperature, humidity level, and flipping schedule for your egg.
Step 4: Take Care of the Baby Birds
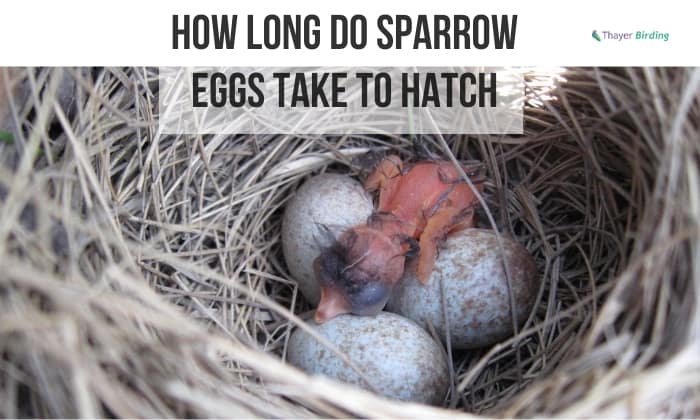
Depending on the species, hatching time will be ten days to a month. Some birds even take months (80 days).
However long it takes, if all goes well, you’ll have a bird coming out of the egg soon.
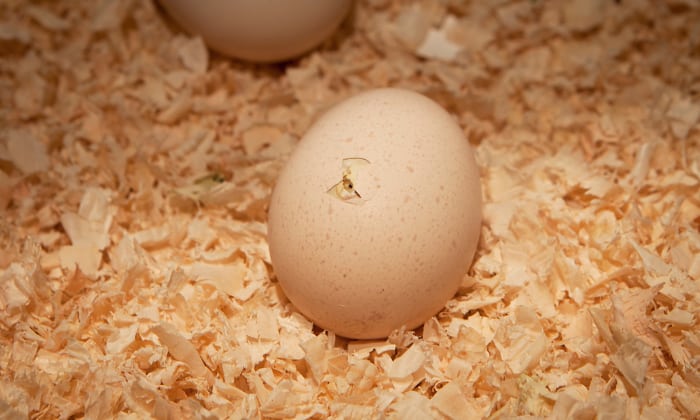
When that happens, though, do not intervene. That is, do not try to help the bird come out of the egg.
It has an “egg tooth” that will allow it to break the shell. If you bring the chick out before it’s ready, it might not survive.
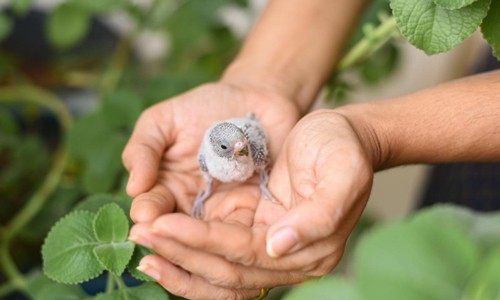
Once the bird has come out of its egg, be ready for frequent feedings three to four times hourly. Indeed, be prepared with food before the chick has fully come out.
Make sure the food you get suits the species. Common choices include mealworms, crickets, hard-boiled eggs, and species-specific formulas found at pet stores.
Conclusion
It is incredible to witness a bird hatching out of an egg. But the events that lead to that moment aren’t always easy, especially when caring for the bird egg without its parent.
This article about how to hatch a bird egg would greatly help people who chanced upon abandoned but viable eggs. Note, though, that you can’t always hatch an egg on your own, as some laws prevent you from possessing certain bird species.

George and I became friends after a birdwatching trip with our new group. And we have been enjoying every adventure together. When he told me the idea of establishing a site that shares our experiences and fun, I immediately agreed. After trials and errors, here we have Thayerbirding.


